Drowning in Fabric

Forever cleaning, organizing and creating

Tessellated Leaves Blog Hop

Hello! Welcome to my stop on the Tessellated Leaves Blog Hop! Thanks for stopping by.

IMG_1967

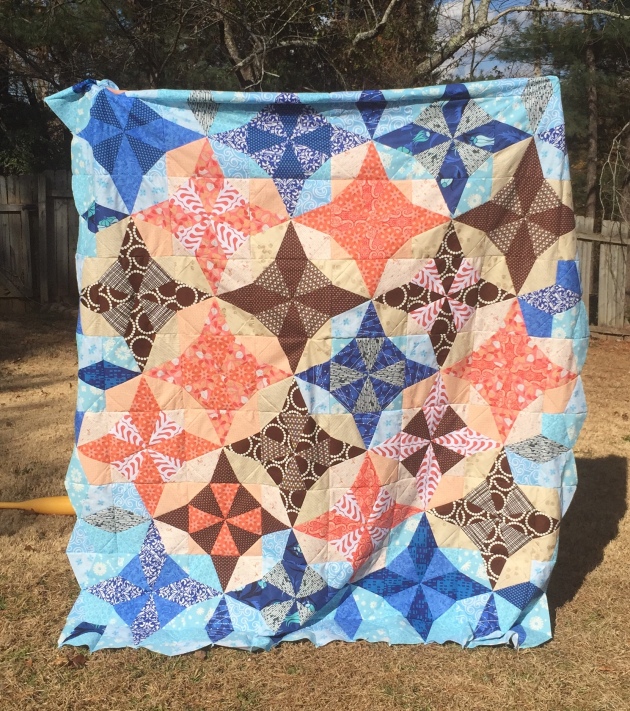
In a past life I used to teach Art and one of my favorite projects to do with my 5th graders was to study Escher’s tessellations. So when I saw Quilting Jetgirl Yvonne’s tessellated leaves pattern it brought back all kinds of memories and I was intrigued to try it in fabric form.

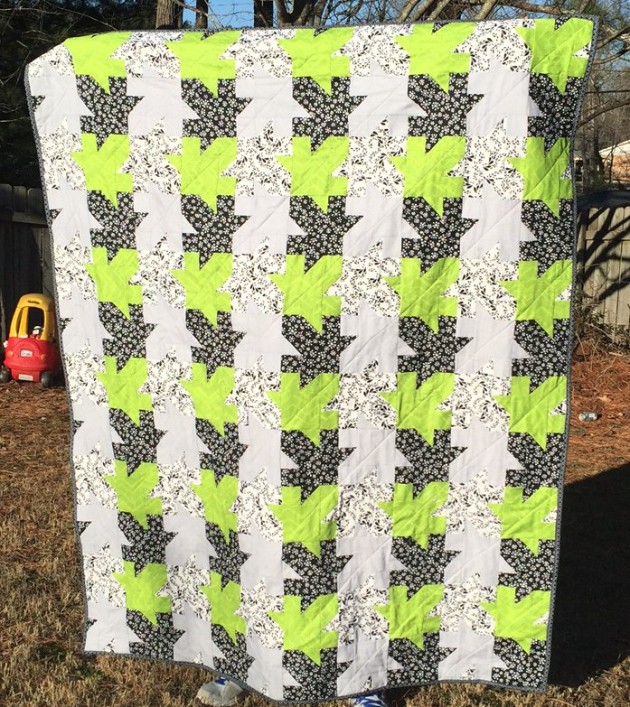
When she announced her new pattern and asked for testers I signed on. The quilt actually looks a lot more complicated than it really is, which is how I like them! I made the 4 color lap size quilt. It finishes at a perfect throw size at 60×72.

IMG_1058

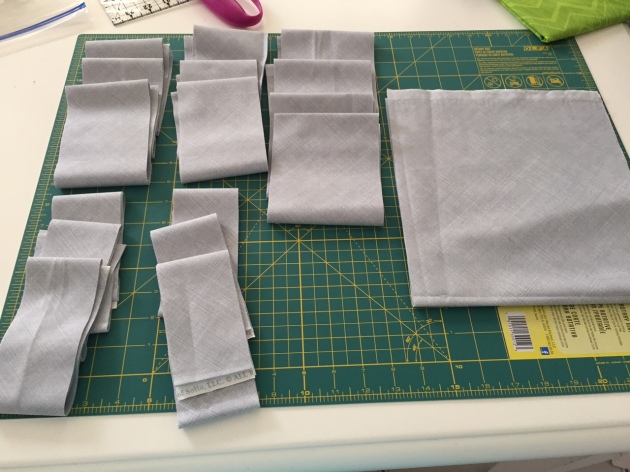
Yvonne was very generous with her fabric estimates for the lap size. I was left with about ten inches for each color. This is good because it gives me a little extra for my stash. Also, I misread my ruler and cut a strip too small at one point, so I had plenty of extra to cover that error.

IMG_1052

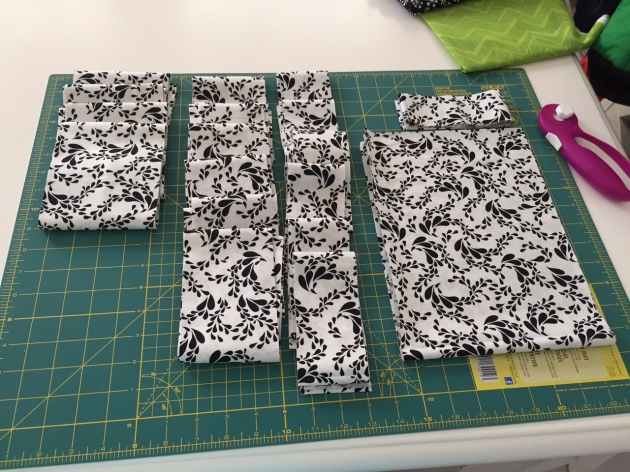
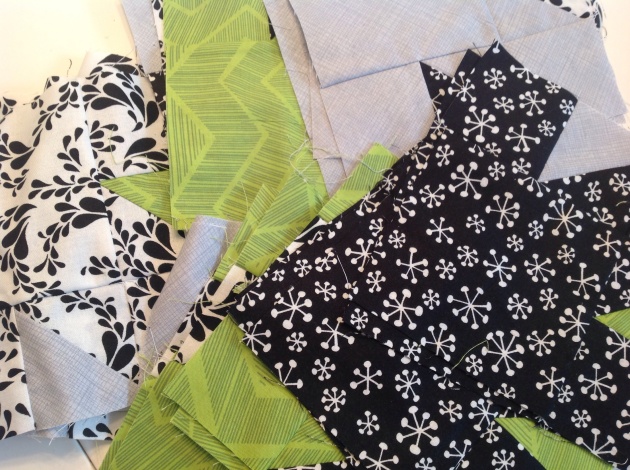
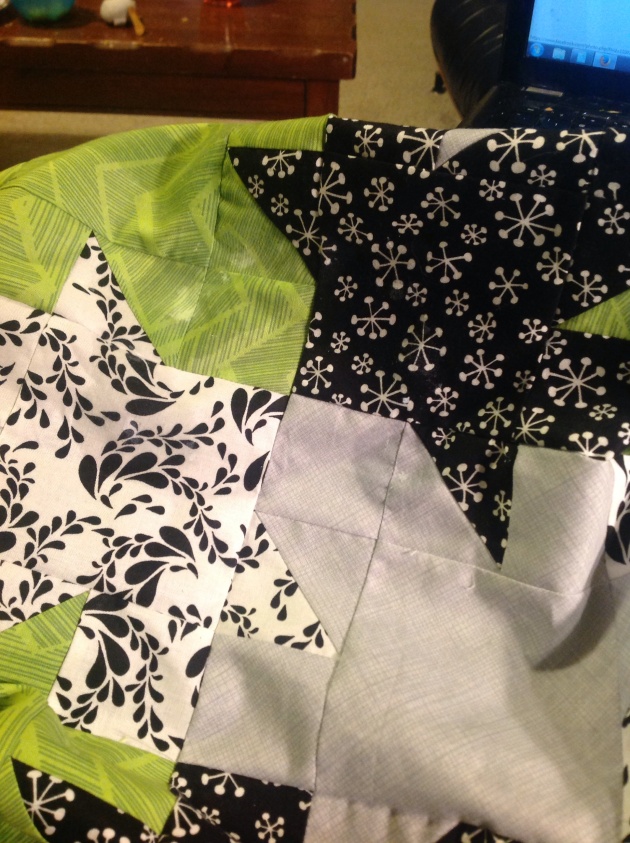
I had to make 30 blocks (120 quarter blocks) and I worked on about ten at a time. Due to various errors, I had a few to fix up at the end. One of my fabrics was easy to mix up right and wrong sides so I needed to redo some blocks for that reason. The first set of blocks, I didn’t pay close enough attention to the fact that it matters which side you put your hsts on. I had a few where I flipped the HST pointing the wrong way…. So, It is good to pay attention to how to assemble your blocks! Once I got through that first batch, it was much smoother sailing with the rest of them.

Sneak Peek

Sneak Peek

My time with this quilt was not without various issues. I took a lot of pictures through these steps, and then my phone fried in a storm. I had to totally replace it and lost everything. Somehow, I was able to recover a couple pictures, but not many.

image

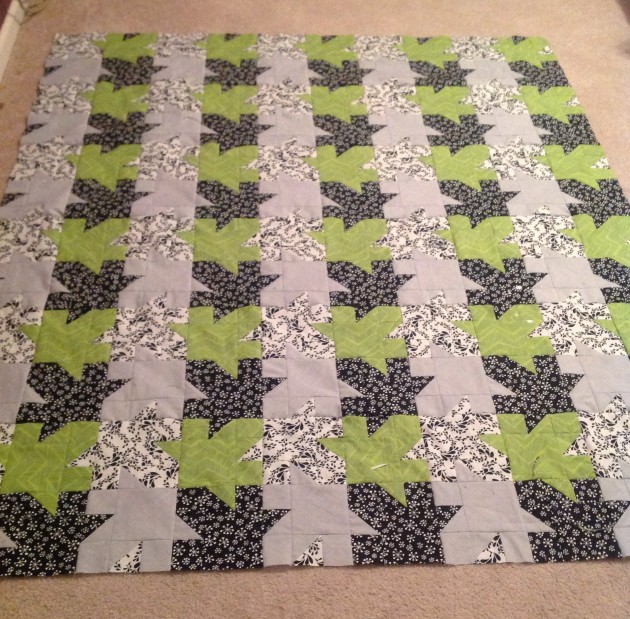
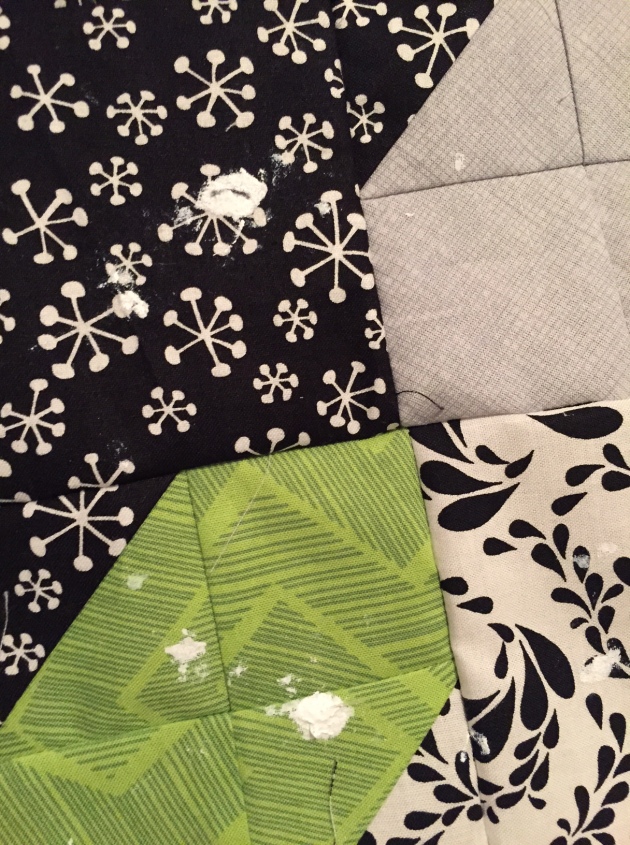
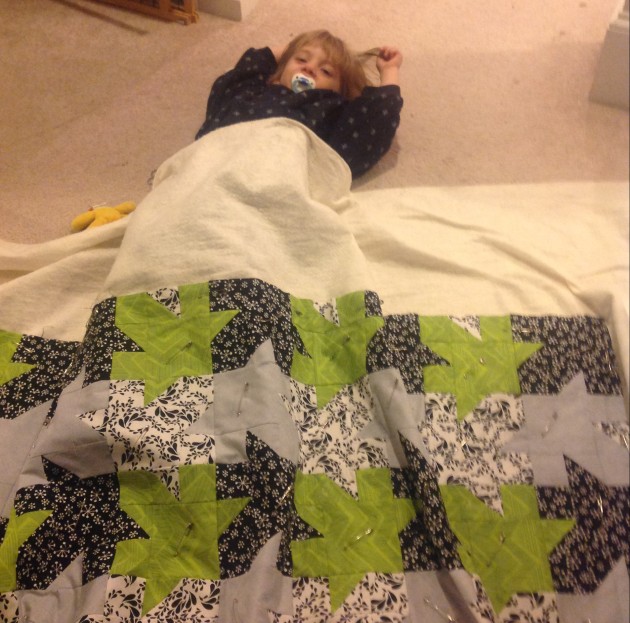
Once I had my blocks assembled, I spent an entire day getting the top completed. I was on a roll. And then I went to spread out my finished top and look at it all put together…. and it was covered in glops of white goo. I still have no idea what the goo is or how it got on there. I was so devastated. Then I spent the evening trying to get it out. I had to scrape it off and tried scrubbing the spots with warm water and toothbrush, but you can actually see the goo in the fabric weave. It looks better, but it is there.

IMG_1931 image

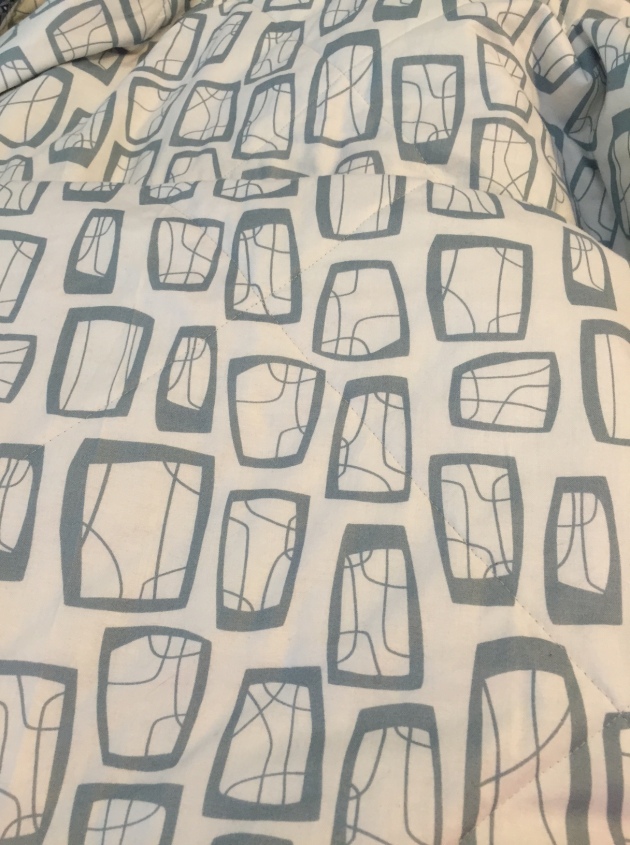
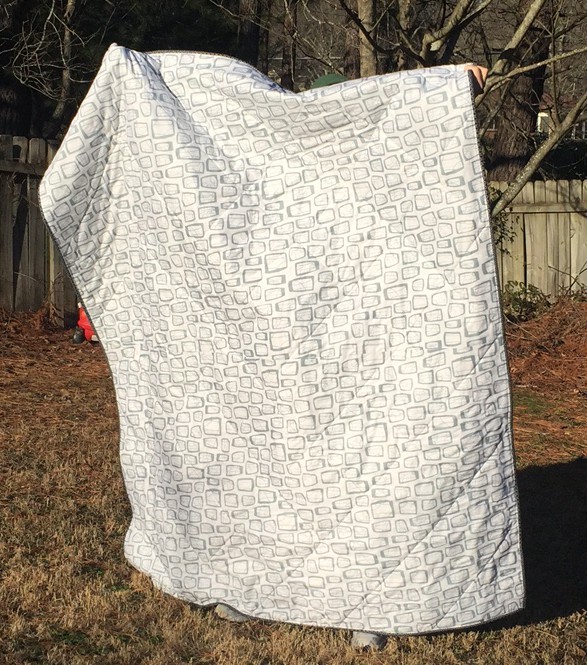
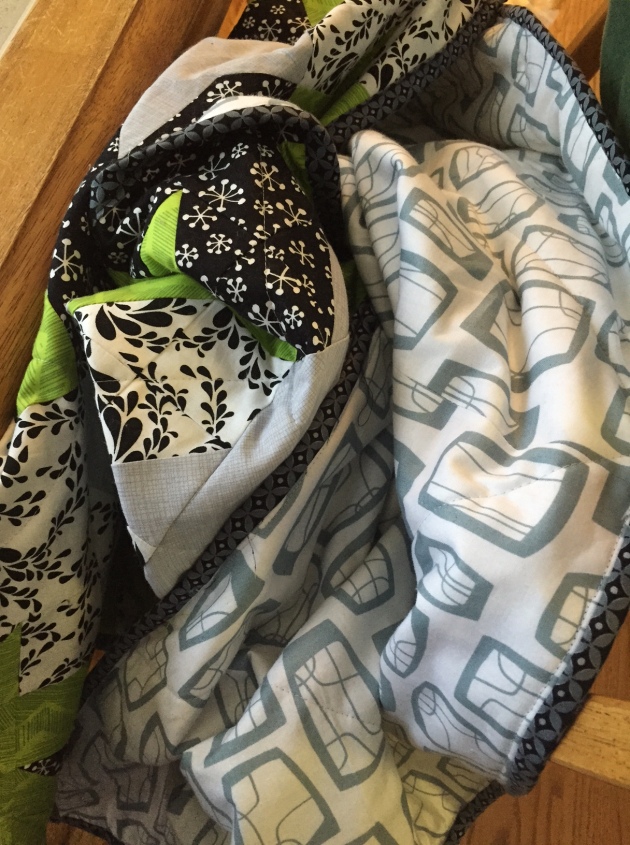
I selected the Lotta Jansdotter grey squares that I got from the clearance bin of my LQS for my backing and I just love how it complements my fabrics.  I usually like to piece the back too but for time’s sake I chose not to. I also forgot to add a label.

IMG_1972

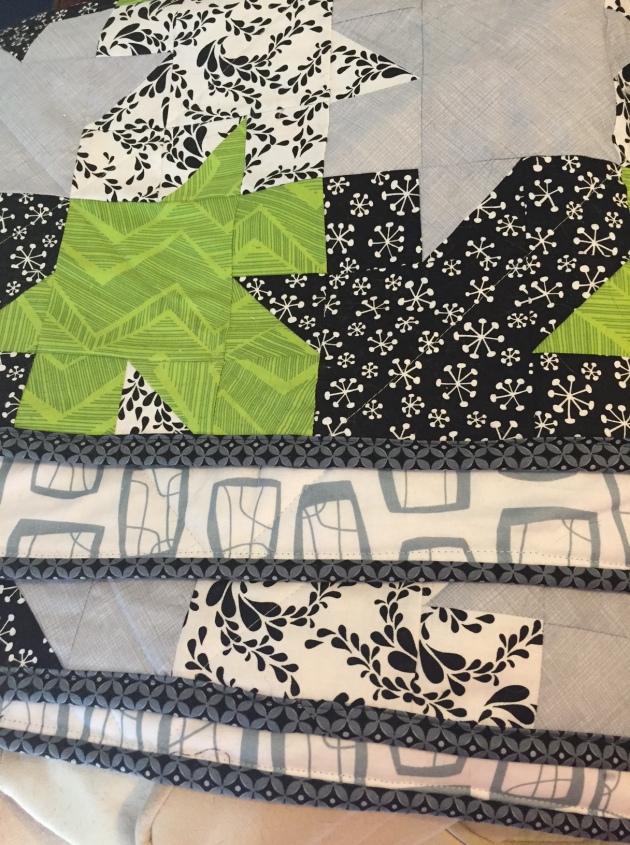
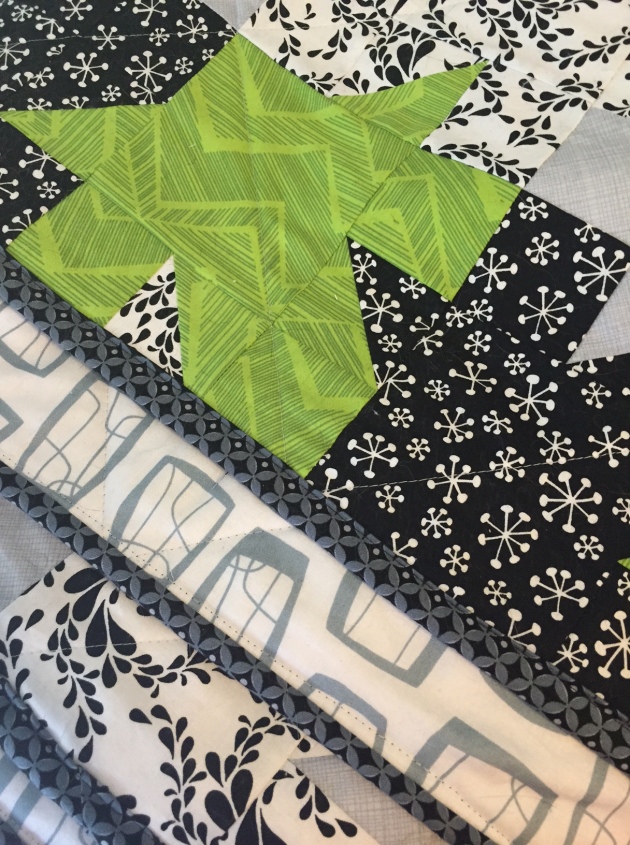
Again, time played a role in my quilting decision. I usually like more quilting, but let the pattern and time lead me. I quilted diagonal lines through the center of the leaves. It makes a large diamond pattern. It is hard to see the quilting through the black and white leaves in the pictures, but it is there! I used grey Aurifil for all my piecing and quilting.

IMG_1965

I wasn’t sure how I was going to bind it, but as I looked over my fabrics this awesome black and grey Benartex fabric jumped out at me and I knew it was the one.

IMG_1964

This is the first time I have ever made an entire quilt from cutting to binding in less than a month. It feels good to know I can do that. I pretty much didn’t work on anything else, though the holidays and travel were factors as well. If I didn’t have that going on, I may have been able to do it quicker.

IMG_1971 IMG_1970

I had every intention of giving this quilt as a gift, but now I am completely in love with it. I love the colors and the backing and the binding and everything together. I just might have wished I did a little more quilting on it.

photo(6)

The pattern is now available for purchase in her payhip store, and if you buy it this week, you can get it for only $6, which is a great price. This deal ends on the 31st.

Thank you again for stopping by and please take the time to check out our other hoppers’ quilts –

Sunday, January 25th – Introduction by Yvonne @ Quilting Jetgirl
Monday, January 26th – Debra @ Quilting Makes My Heart Sing
Tuesday, January 27th – Audrey @ Hot Pink Quilts
Wednesday, January 28th – Laurel @ Drowning in Fabric
Thursday, January 29th – Shauna @ Shauna’s World
Friday, January 30th – Pamela @ PBarrettHill Fashion
Saturday, January 31st – Wrap-up by Yvonne @ Quilting Jetgirl

This quilt was also my January finish for ALYOF –
Here is my goal post

12 Comments »

2014 ALYOF Finishes!

It is that time where I make a bunch of posts recapping last year and looking ahead to this year. First up, my finishes for 2014 ALYOF. For how unaccomplished I feel last year was, I actually met 11 of my 12 goals.

alyof2014

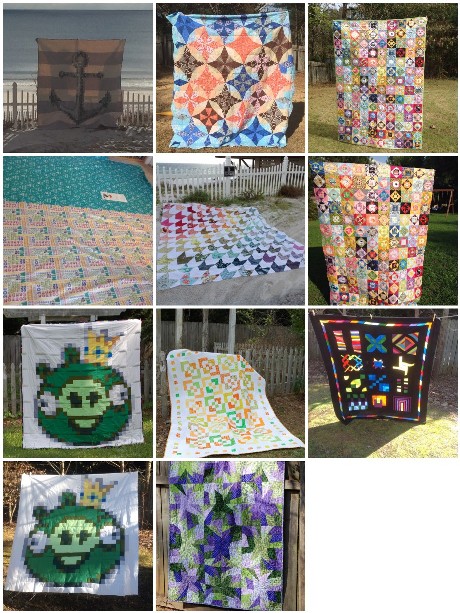
1. December – Completed Anchors Aweigh quilt
Goal post
Finish post

2. November – Completed Kaleidoscope top
Goal post
Finish post

3. October – Finished economy block quilt
goal post
Finish post

4. September – Finished back for economy block quilt (and Tula Houndstooth quilt)
Goal post
Finish post

5. August – Finished Tula Houndstooth top
Goal post
Finish post

6. July – Finished Economy block top
Goal post
Finish post

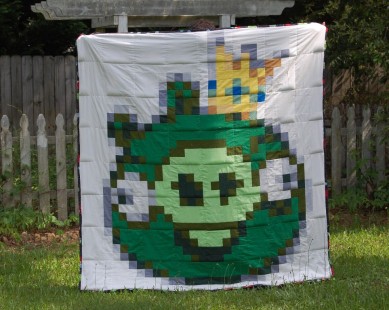
7. May – Finished Piggy weighted quilt
Goal post
Finish post

8. April – Finished Bento Block quilt
Goal post
Finish post

9. March – Finished Block of the Month top
Goal post
Finish post

10. February – Finished Piggy top
Goal post
Finish post

11. January – Finished Stack the Deck quilt
Goal post
Finish post

My one failure was in June when I attempted to finish my anchor quilt the first time. I later finished it in December.

Here’s to more in 2015!

5 Comments »

November ALYOF Finish – Kaleidoscope

Wow, so I am just sneaking this in under the wire. I really didn’t think I was going to finish. I have spent my whole vacation slaving away at this. I finished yesterday afternoon, but it was too dark to take pictures til today.

IMG_1954Even though for all the work and triangles this took it is smaller than I expected, it was still taller than my husband, so it is a little hard to see the whole thing in the picture. The edges right now are angled. My intention was to eventually square it up, but I actually kind of like it. I am not sure about binding it though, so I don’t know what I will do in the end.

I got quite good at getting my points in the middle to meet, but not so much where the blocks join. I think that had something to do with inconsistent trimming of the blocks. They are all 10.5″, but may not all be centered properly. I think unless you are looking closely, it isn’t distracting in most cases.

Like most of my tops, I kind of put this together randomly. I matched pairs of triangles first, then built the kaleidoscope center blocks from that, then created a layout and filled in the kaleidoscope outer blocks as needed. I also didn’t want any Kaleidoscopes hanging off the edges, so I spent some time making the “border” to complete all the kaleidoscopes and filling in with diamonds. Like all my quilts, I had a love/hate relationship with it. Now that it is done, I am really pleased with it (a few days ago I hated it), however, if I were to do it again, I think I should take the time and patience to plan ahead. I don’t totally like where the blue backgrounds break into the brown and peach backgrounds. I feel it is different enough to break up the background flow. But not enough that I hate the top. Just a nitpicky now that I have done it.

I have no plans to finish it anytime soon. I have holiday and “special” projects that are going to fill my next couple months, so into the growing wip pile it goes.

Here is my goal post

Here are other posts about this quilt

1 Comment »

ALYOF: October Finish

OK. I finished my quilt about a week ago, but it has been impossible to get pictures til today. I made a point to make sure I got them done as soon as I could.

Here it is

image

This is my economy block quilt that I started in April. This is the first quilt I’ve finished since around then too. 😦 However, I have a whole line up to do while my quilting table is extended. I quilted it along the diagonal seams. I want to say it measures around 52×72. My memory may be off.

Here are some closeups of the blocks/quilting

image image image image image image

This quilt was supposed to be a graduation gift for my cousin. It is now sort of a combined grad/birthday/holiday quilt. I am just going to hang onto it til holidays and give it to her then.

Here is the back:

image

There’s a label under the Celebrate girl that I will fill in for her.


Yay! It feels good to finally FINALLY finish something. Unfortunately, the next quilt I have to do, I have no idea how to quilt it.

Here is my goal post

Here are other posts about this quilt

3 Comments »

ALYOF May Finish: Bad Piggies Pixel quilt

pig3

I completed my May goal – my bad piggies quilt. I made it a weighted quilt. I thought I had taken more pictures throughout the process, but I guess I didn’t. So I will do the best I can to describe how I made it.

pig2

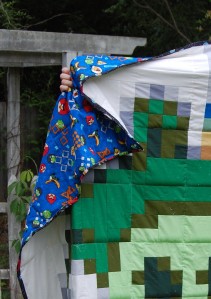
The back is just an angry birds print in blue featuring the pigs. I sandwiched and basted as normal.

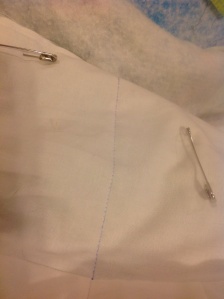
The quilt was made up of 16 blocks, each block was 8×8 pixels. So I decided to stitch in the ditch every 4 pixels (approx. 8 inches) to create my pockets. That made 64 pockets to fill. So, I started by stitching the vertical lines. Then I stitched down one side, across the bottom, and up the other side, leaving the top open.

image

I used a new marking pen to mark the lines. They are supposed to iron out. Of course, it didn’t occur to me to question if it would work until after I had marked most of my quilt. I held my breath and hoped it would disappear. It did! What a relief. I have heard the lines can reappear in the cold. We will just hope that doesn’t happen.

image

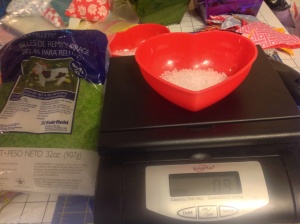
I used poly pellets for the weighting. They had them on sale when I got them. They are 2 pound bags. The rule of thumb for weight is 10% of the person’s weight + 1 lb. My son is roughly 30 pounds so that would be 4 pounds. How delighted was I to discover 4 pounds = 64 ounces? (Yes, I really didn’t know that til I did the math.) So, that meant one ounce per pocket. I diligently weighed out my ounces on my scale. However, for some reason I couldn’t get exactly one ounce to register on the scale so I alternated between .9 and 1.1 ounces. It worked out fine.

I poured each ounce of pellets into each of the 8 columns I created in the quilt. I placed them between the batting and the top of the quilt, figuring there should be some cushioning on the back. Then I held it over my balcony and shook shook shook the pellets to the bottom. Some words of warning: they will not all go obediently to the bottom. They get all stuck in the seams. I did my best to push them down to the bottom, but it wasn’t worth the effort. I figured it would all work out. After I was satisfied with the shaking I sewed the horizontal row. Then I repeated for the next column.

image

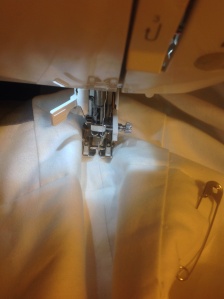
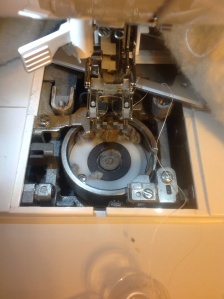
There were also many needle casualties as a result. Again, I did my best to clear the seams as I went along, but there were several times I hit a pellet. Sometimes the needle broke, sometimes it just got jammed up inside a pellet. I ended up taking my plate off a couple times to retrieve needles. Wow. Look what I found under the bobbin case.

image

Ick. So, my machine got a good cleaning too. Let me also tell you, 4 pounds doesn’t sound like a lot (especially when I am hauling a 30 pound baby around throughout the day) but it is HEAVY. This quilt is heavy.  Once I had worked my way to the top row of the quilt, I sealed off the top and bound it with a different angry bird print in black.

For more posts about this quilt, see here.

For my goal post about this quilt, see here.


Linking also to the FAL

Here is my goal post: https://drowninginfabric.wordpress.com/2014/04/10/finish-along-q2/

6 Comments »

Blogger’s Quilt Festival entry – Citrus Bento

I am excited to enter my Citrus Bento quilt into the Blogger’s quilt festival.

Citrus Bento

Citrus Bento


It is 90 x 66″ (312″ around) in the bento box pattern. I followed a tutorial from Quilts of Love.

Citrus Bento back

Citrus Bento back


I pieced the back from bricks and layers in leftover and complementary fabrics.  The rest of the back is from Beachwood Park.

image

The binding is from Moda’s Eat Your Fruits and Veggies.


DSC_0708

I mostly straight line quilted with variegated Aurifil. On my DSM.

For more detailed posts about this quilt please see here.

Thank you for visiting my quilt. Please vote for it in the Large Quilt category in the Blogger’s Quilt Festival!

6 Comments »

Blogger’s Quilt Festival Entry – Bad Piggies

I am going to make a more detailed post after my son’s birthday but I have finished his Bad Piggies quilt and I am entering it in the Blogger’s quilt festival


pig3


I created this pattern from a picture of bad piggies using Google Spreadsheets. Then I assembled the quilt using Kona solids according to  the pattern. I made this into a weighted quilt. It is stitched in the ditch every four pixels (8 inches). I backed it and bound it in two different Angry Birds fabrics featuring the pigs. It is 65″ square.

pig2

For past posts discussing this quilt, please see here.

I am so excited to be entering quilts into the Blogger’s Quilt Festival this year! Please go and vote for this quilt in the Original Quilt category. And thank you for visiting my quilt!

3 Comments »

Anchors Aweigh top finish

IMG_1757

I bought a quilt kit during shop hop this year. I’ve never used a kit before. I just couldn’t resist this one. I quickly cut the 2 inch squares and packaged it up for Stash Bash.

image

I worked on it during Stash Bash and finished 6 of the 8 rows there.

image

Anchors Aweigh is a free pattern by Tula Pink using fabric from her Salt Water line. People at Stash Bash (and instagram) were all impressed with it, but really, it was very simple. It is like sewing by number.

image

For the most part the instructions are very clear. All pieces are diagrammed in sections with an image and a letter. Each section and row is numbered then shown how to put together in another diagram. The main complaint I had with the pattern is that while you are given the cutting directions for the solids, there is no indication in the diagrams which size solid you are using. Yes, it is pretty easy to figure it out either from the image or by holding the different sizes against your sewn pieces, but it would have saved a lot of time and some trouble to just include the size in the pattern. There was one spot in particular where there were four pieces of large solid blocks in two different sizes, and I wasn’t sure until I had the whole quilt together that I had actually placed them in the correct spots.  Also, just another small annoyance – solid pieces were listed as different pieces even if they were the same size. For example, (2) 2×5 and (2) 5×2. Sure, one is horizontal and one is vertical, but when I am cutting, I want to know how many I am going to need to get from the piece I am cutting from. If I cut two and move on, only to discover later I need two more….

Anyway, I guess it looks impressive to work on – and of course, I love it, which is why I made it, but I have to say I get more of a sense of accomplishment from my bad piggies quilt, which I created myself from a picture, and which will also be one of a kind.

So, here is the completed top:

drowninginfabric.wordpress.com

I have some pink Salt Water yardage and some layer cake blocks from the Tula Pink 10 inch swap I participated in selected for the back. My goal is to have this one done for my mom’s birthday in July.

As I worked on it I also worked on my economy blocks as leaders and enders. I made decent progress. Here are some of them:

drowninginfabric.wordpress.com


6 Comments »

Friday Finish: Citrus Bento

It is done! It only took a year! Well, most of that year it was just sitting on a shelf ignored.

To recap:

I started this quilt last year at stash bash where I was led to believe by the tutorial that it could be completed in an afternoon. Well, I spent 15 STRAIGHT hours that first day at stash bash working on it and it still wasn’t finished. That didn’t include the cutting, which I had done ahead of time. I completed the main part of the top the next morning. I made the borders last May. Then, lacking inspiration for the back I folded it up and put it away.

As Stash Bash 2014 crept closer, I felt the pressure to complete this quilt, as that would mark a year since I started it. I do have one (much) older wip, but really didn’t want this one to languor past the year. Over the course of the year, I had collected fabrics that might work for backing or binding. I also had quite a bit of leftovers. I was still not sure what to do with the back, but finally sat down and busted something out. I immediately basted and worked on quilting.

I again wasn’t sure what to do, and even though I’ve really been trying to FMQ, I felt with all the straight geometric lines I needed to go that route – even if it would probably take longer. I used my walking foot and straight(ish) lines quilted on either side of the seams in the blocks. (Which I don’t have a good picture of) I used variegated Aurifil thread in orange/yellow/white (choosing against the lime green. Wisely, I think.)

DSC_0708

Then in the white borders I quilted several lines which crossed in the corners. In the middle border I quilted Xs. I still struggle with keeping lines straight on large quilts on my machine. No matter how careful I am, I still have drag or shifting.

DSC_0707

I am in love with the binding. I found it at my favorite store last fall and knew immediately it would work great in this quilt. It works so well as the binding, having all three colors in it, making a nice frame and transition from front to back.

image

I also tried something new – I hand sewed the binding on this one. I have never done that before and felt it was something I needed to do. I am aware there is a certain …snobbery… over how bindings are attached. I’ve always liked the speed of machine binding, but believe I need to try something before I knock it. So now I can knock it. LOL. I was not enamored of the hand binding process. The upside was that I could do it while being with my family in the evening (instead of at 2am like I normally do). Other than that, I am not sure what the love affair is. It does not seem nearly as secure to me, for starters – and most important. And it took forever.  I definitely got better and quicker as I went along – my stitches are more even and invisible at the end than the beginning.

Citrus Bento

Citrus Bento

Citrus Bento back

Citrus Bento back

See all my posts about this quilt here

See my goal post here

Finish it up Friday!

Linking also to the FAL

Here is my goal post: https://drowninginfabric.wordpress.com/2014/04/10/finish-along-q2/


9 Comments »

ALYOF: March finish

For March my goal was to finish my top from my BOTM class last year. I got busy on it right away and had it completed pretty early in the month.

image

I was only able to get one picture of it before my son ran by and pulled it down. The clothesline isn’t working for my pictures for a number of reasons lately… I need to find a different solution.

Anyway, there it is. I wish I had placed a couple of blocks differently now – I was trying to balance both the colors and the surface area of the blocks. I played around with it quite a bit, but it is always different when you have it done and can step back from it and see the whole thing. Anyway, I am proud of myself for completing it. I signed up for the class again this weekend and it starts in a couple of weeks. I will be glad to show my teachers my progress.

You can see my March goal post here

You can see (most) all of my posts about this top here

I’ve been busy this month. I need to catch up my posts!


2 Comments »